The Classic Homelab First Test: A Minecraft Server
Starting Up
In order to get better acquainted with the many flavors of Linux I have chosen to use a headless ISO of Debian. Debian, from my short experience, isn’t much different than anything else but feels a bit more stripped down in a good way. Below is the basic settings of the server I built within Proxmox. 
I installed it the correct way, headless, and proceeded with fleshing out my fresh OS.
Arriving at the Dock(er)
After getting my account with the correct permissions, I installed OpenJDK and began installing Docker.
Installing docker was quite a fight versus my previous experience loading it on Rocky, Ubuntu, and Windows. I had to uninstall and reinstall it because Debian can’t just install it from apt installing docker-compose. In this writeup, I used the itzg Docker image from Github. In it is a read-me file in which has some pre=made configurations for the .yml file. I will take these and modify them slightly using variables again available from the itzg Docker image. Below is my docker-compose.yml file with the appropriate settings.
1
2
3
4
5
6
7
8
9
10
11
12
13
14
15
16
17
services:
  mc:
    image: itzg/minecraft-server
    tty: true
    stdin_open: true
    ports:
      - "25565:25565"
    environment:
      EULA: "TRUE"
      MEMORY: 3G
      MOTD: "Linux and Self Hosting FTW!"
      WHITELIST: ""
      SEED: "THISWASALLDONEINLINUX"
      SERVER_NAME: "Noobops Minecraft"
    volumes:
      # attach the relative directory 'data' to the container's /data path
      - ./data:/data
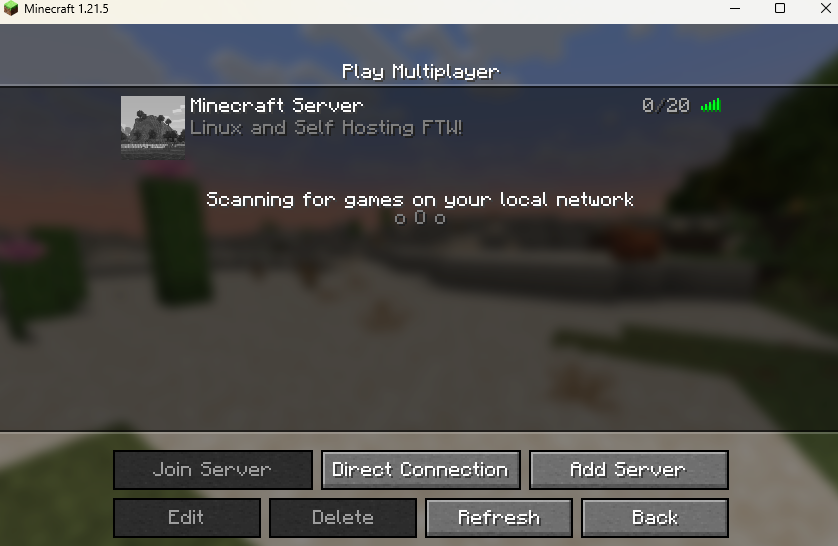
Once this was saved, I brought up my Docker image using the CLI. Now, if you know much about Minecraft servers, you know you make them to play with friends. As of current, my docker cannot be reached from external so that means we have to adjust my networking settings on my router/firewall.
Bringing it all together
I connected to my router via my browser. In it, I needed to find a setting called “port forwarding”. In a nutshell, this allows people with your public IP to connect to a specific port and be routed through to a specific private IP on your network. Once this was set up, I also found where I could reserve IPs based on MAC address. I set this new server, MINE01PRD, to have its IP reserved so if I turn it off to spin something else up long enough that it loses its current IP, I don’t have to go in and adjust port forwarding rules.

After this I opened the game and input my public IP and it came up!
Now time for the yearly 2 week Minecraft binge with friends!